Showing posts with label photography. Show all posts

Monday, 28 September 2015

Expanding the paths to follow...which way to go?

I am at a bit of a road block in terms of which way to progress next to develop my work further. I have been playing with some photos this evening to try and find a style or genre that I am interested in developing further.

I had a bit of a play with one of the images from the other day that I created, using the colour and black and white version to create an image with only the main focus in colour. I do like black and white photographs and I think this splash of colour works really well and it looks like the main focus is travelling through a different world.


So far I have looked at blending exposures and then cutting sections out to create a painting feel to the image. See the image below, the photos used where taken this evening as the sun was setting as it had some amazing colours going on. I have layers the different images I took over half an hour and then removed sections of colour to show the images underneath.


It is a bit of a crazy experiment and loosely based upon the work of Matt Molley, who uses a collection of images to create impressionist style photographs. I quite like the patchwork effect of the sky and the colouring that has developed.

The other experiment for this evening was looking into chrono-photography, or the idea of showing motion in an image, again this is mainly done post-production of the photos for me currently. I took a burst of photos while at training the other weekend, and the attempt was to construct one image showing the dog's movement.


This again is similar to the work of Étienne-Jules Marey who took a number of photos of the same scene but at different times, and combining them together to show the movement of a person or animal. I do like this one from a training piece as it shows the dog's stride pattern and its technique, which is very useful in terms of working out pacing and stamina building. 

So any ideas on which path I should be taking, it could be one of these or a path from one of my previous posts, such as the overlaying of images:

UPDATE: A COUPLE OF NEW IDEAS TO HAVE A LOOK AT..... 
So which path do you think my work should go in? I leave it up to you guys.


What do we think?

Sunday, 20 September 2015

So update on the investigation title and some experiments....

After posting the first draft of my investigation, I have altered it slightly to take in my interest in both photography and computer science.

New investigation route:

Does the unlimited access to digital and social media expose the individual to art and experiences that may have otherwise remained a closed door? 


Let the journey be the destination; before the phenomena of the Internet, artists such as Dan Eldon documented his travels across South Africa using journals, and creating very thought provoking photo montages of his experiences and the impact of the environment he was exposed to. 


The concept of documenting has continued today but with digital and social media as the journal and anyone with Internet access the audience. Photographs can be taken, edited and uploaded in an instant, with viewing happening 24/7 across the globe. This new, wider community has opened the door for many to try something new, or realise they are not alone. 


By taking up my camera again I have influenced my 4 year old son, who has become interested in taking photos of what he experiences and he wants to share them with his own audience. This has allowed my son to interact with the world in a different way, seeing new things and deciding on what is a good picture. My son has also influenced me as he views the world from different angles and levels, along with his enthusiasm when out and about, which is contagious. This has provided me with a new perspective when capturing images, taking into account what he can see and how that impacts on his photographs, and allowing this to influence how I set up my shots.

So what do we think?

Anyway onto the experiments. I am currently taking photos when I get the opportunity to, I have a lot of stuff going on at the moment so trying to fit in going out specifically to take photographs is pretty slim. After a trip round the zoo with my family, and using my mobile phone, I got some interesting images that I could combine  And Sunday I was off to flyball training, so I took my camera with me, the idea was to get some images of the dogs and also from the brige looking down on the motorway. I have just sat down to put some images together and see what I could make that would be a little different.

Zoo Experiment:

I like how this one turned out, the bright colour on the T-shirt makes the eye track through the image. It was interesting to see the different positions that people moved into as the walked down the path. 

Motorway Experiments:

Original Image once all the photos were combined together, I had to remove some cars that appeared in between the lorries as it made the image way too busy to really see anything.


With a filter put over, I like the detail on the vehicles coming through, and it really makes them stand out.


This is a combination of two different final images using different levels to alter the colour intensity. I loved the dramatic sky on the first image but not the washed out vehicles, the second image had the vehicles that you can see above but a very pale sky. This looks much more interesting combined together.


Sunday, 13 September 2015

More pinhole cameras...

As it was a decent day we decided to go and collect the cameras I had put up a few months ago. Sadly at both locations the cameras had been removed, teaching me the lesson to make sure they are positioned off the beaten track.

With the weather holding and the dogs needing a walk, my Dad and I set out to put up some more. They are positioned in places that are hopefully hidden from view, and in some excellent spots for capturing a great exposure (fingers crossed).

Camera One

Great spot, quite secluded, and again I found myself in shorts wading through nettles and thistles to attach this. One day I will learn to wear trousers.
The view from the camera, fingers crossed for some great sky trails.

Camera Two
Again up to my waist in long grass and nettles, with the ground under foot not quite where I expected it to be!
The view from the camera position.

Hopefully these will stay put and I can pick them up in a few months. Or leave them over the winter as I don't fancy walking around here when it is cold, wet and windy!

Friday, 11 September 2015

Combining Images...

After spending the summer taking a large number of photographs, with many of the same scene at different times, I decided I needed to try and do something constructive with them. I thought that be layering them I could get some interesting sky patterns. So here are the results...


This was my first experiment of using different exposure times to construct the image that shows the passing of the sunset on this particular day. I took a number of photos at different stages of the sunset and then cut sections from each. I quite like the overall image but it is not very dramatic.

This is my second attempt and I was using a different method this time, instead of using sections of the images I was layering them on top of each other. This image has approximately 8 images combined to give this sky effect. This is the dramatic effect that I was after, although I did end up making everything else a silhouette, I guess that will be something I need to work on.

My final attempt for the evening, and I decided to try out adding in a different set of images on top of the second image I constructed. The photos I used on this were of a more pink and purple sunset than the originals ones I had been using. The camera was also set up in a slightly different position so I have got a ghosting effect in parts of the photo which I really like. I am also really pleased with the subtle colour that is showing through the blues in the sky.

I will be looking into this further and finding some more interesting locations to take the original photos to then use. 

On a side note, I am doing this investigation as part of my A2 Photography course. I am looking at how social media can be used to influence the artist and the viewer. I have found a number of different photographers and artists over the summer that have impacted on what photographs I have been taking and it has pushed me to find out more about how to recreate the same techniques. This would not have been possible when I did my A Levels back in school due to the lack of Internet and social media.

So in conclusion:

How does social media impact on the artist and the viewer, does it allow the artist to become the viewer and the viewer to become the artist? Discuss....

Monday, 31 August 2015

Happy Accident Photo that lead to Light Painting...

From the photograph where I had captured a couple walking down the hill with a torch by accident I decided to look at light painting in more detail. It seemed to be fairly easy to get an image to capture light (considering I had done it by accident) I roped my husband into help me do some quick tests.


Just a bit of fun but they came out much better than I thought, as we only went out with the camera and used the torch on my phone. We decided that we needed to think of ways to make the photos more interesting by trying to add colour, or get something drawn, will revisit this again.

I am looking forward to when the nights get a litter darker so I can get the boys to help me, I think they will really enjoy running around with little torches and seeing the results.

Saturday, 29 August 2015

Second Round of Pinhole Cameras....

After coming back from holiday we went and picked up the set of cameras put up at my parent's house, these were the second test set to see what would happen over a longer exposure.These cameras were positioned at the front and back of the house at different elevations to see if that would impact on the light exposure.


I am a little disappointed with this image as this camera was at the highest elevation, but it has not produced any light trails in the sky. I don't know if this has anything to do with the direction it was facing or the cloud coverage during the time it was up.


I like the start of the light trail that this photo has captured, I wish that I had now left it up longer, but I might go and replace it and leave it up for 6 months to see if the trails will develop further. I have edited this image and used a purple hue as it picked up the light trails and the detail of the image better.

I have now got 4 cameras still up (fingers crossed they are still there!), and I plan to make some more and get them up over the next few weeks. I think that leaving them for 6 months would make a big difference and also make sure they are facing south and not shaded.

Thursday, 20 August 2015

Holiday Snaps

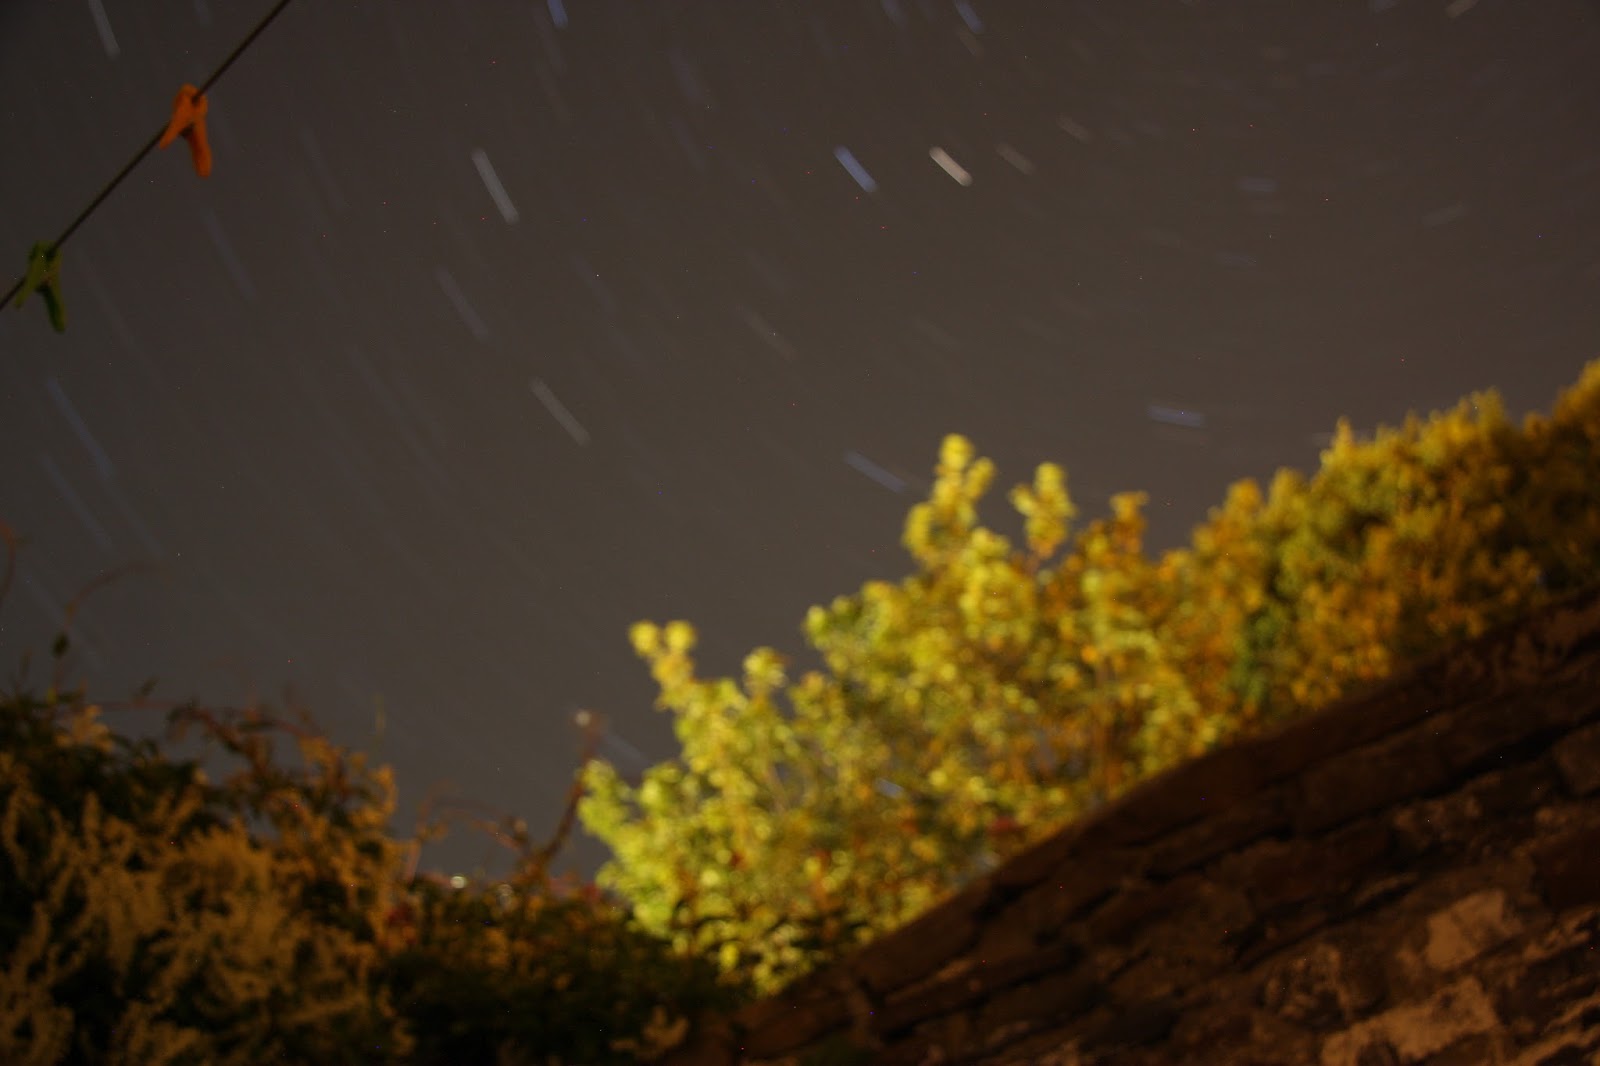
Being away from the comfort of my own home to try out some night time shoots I realised that I need to plan them out a little better as it is boring! and cold! Anyway, I dealt with it as best I cold with the clothing and equipment that I had in order to get some star trails while we were away.

Doing this, especially at a location where it is pretty much pitch black makes trying to focus the camera to capture anything much harder so sadly some shots are a little blurry as I had no idea if I had focused on anything. This reminds me to take a high powered torch so I can create a focus point for the camera.


Photos from the first day at the little beach, the aim was to try and get the motion of the water in a long exposure. This had to be balanced with how bright it was outside so the exposure was very short indeed (one to five seconds in some cases). I love how they have come out though and can't wait to play with them in the editing software to see how I can manipulate them.


Night time shoot, and this is where the problems start as trying to focus the camera was difficult, however, the results were great. The castle looks fantastic in the photograph and the star trails looked super, just wish I could have stayed out longer but I was far too cold.


Happy Accident, I changed position to try and get the stars above the hill, however, as I started the exposure a couple were walking down the hill and their torch was picked up by the camera. I think this is great, I really like it when I end up with "accidents" in my photos. It makes me want to have a go at doing some light painting with the boys when the nights start getting darker earlier.


I have no idea how I didn't manage to get the camera focused correctly at this point. But I do like the detail in the star trails that I managed to capture, along with the washing line as well.

Thursday, 13 August 2015

Long Exposure Photography...water....stars and what is next?

I was feeling pretty good after the first few attempts at taking some images using long exposure and as we were taking a trip to Anglesey I took my camera as I would have some opportunity to take some photos.

What I did discover after setting up my camera was making sure it was steady, in focus and on the right settings. As much as I really enjoy taking photos of nature, I dislike the fact that nature moves constantly and gives some parts of my photos a blurry look. here are some of the results from the weekend away.


I was really pleased with how these turned out, in fact I was stunned as this was the first time out and about taking the photos of water. I then went and tested this same method out at the zoo to see if I could get some still water movement captured.


These photos of the small waterfall turned out better than I expected, I did have to spend time manipulating plants out of the way and also securing the camera into the ground.


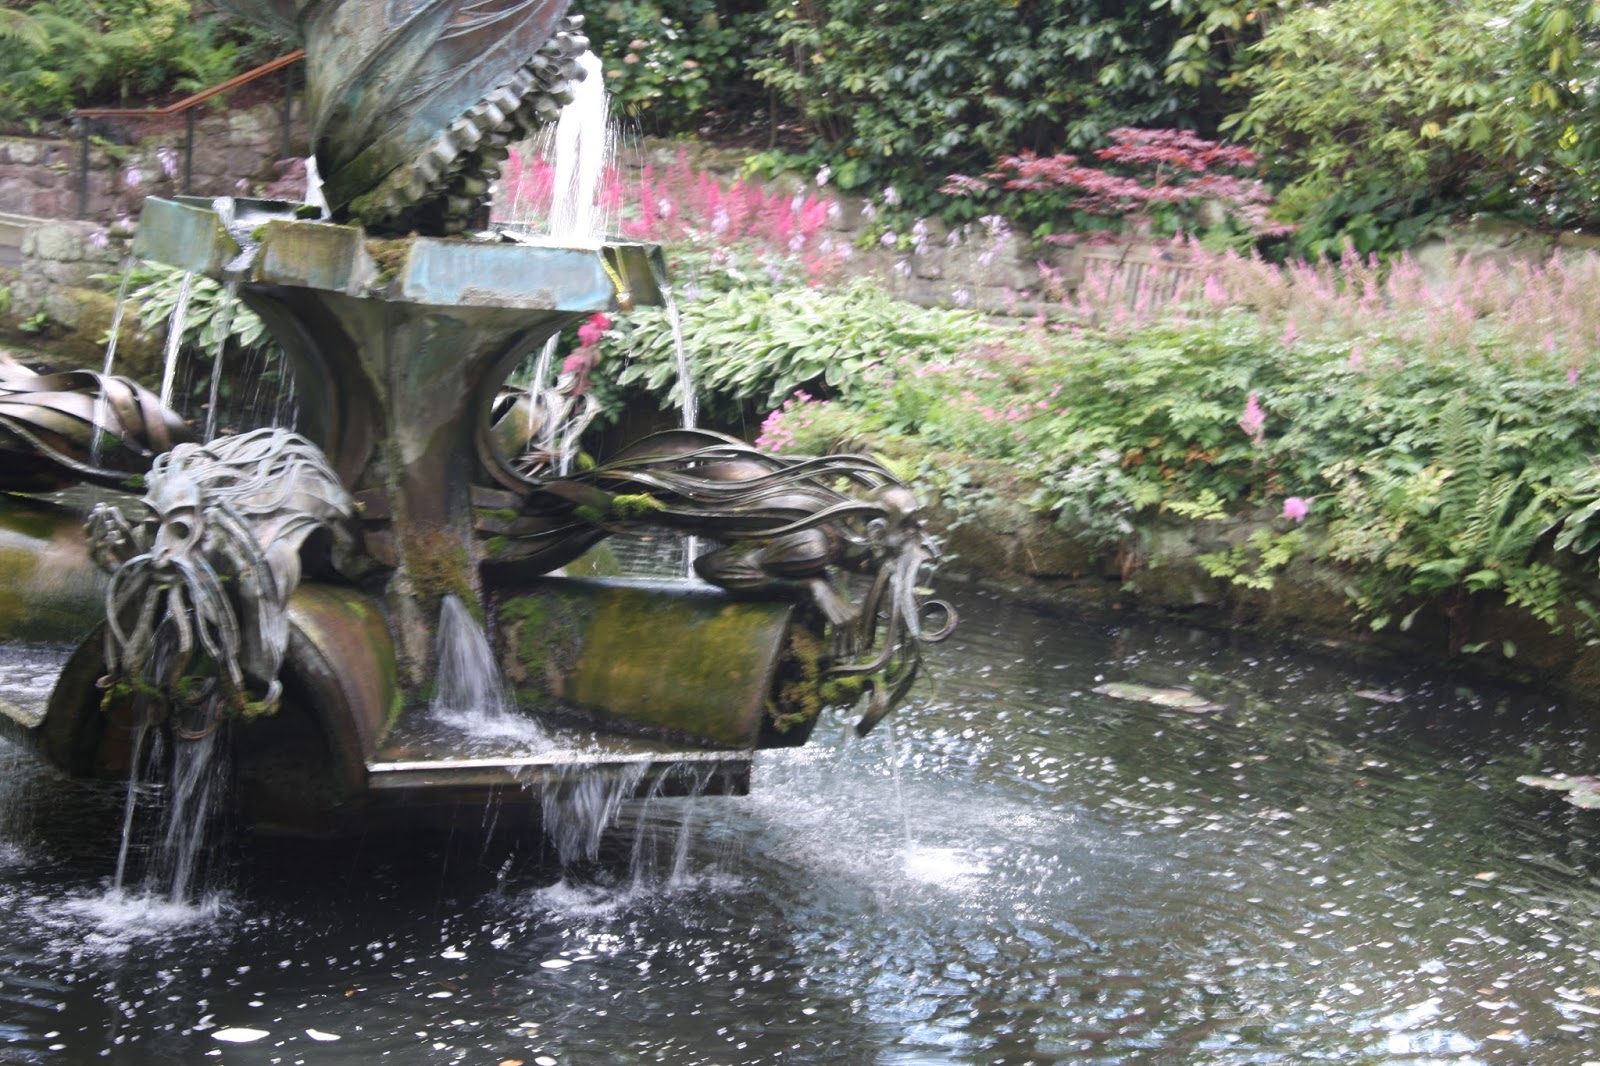
The fountain at the zoo also provide to have some interesting water features once captured. I just thought it was pretty much still water, apart from the waterfall as the pond looked so calm. The long exposure shows that although it looks calm and unmoving that there is constant motion.

After the experiments with water I wanted to try out the star trails that I had read about, this took much more planning as we are not blessed with the clearest of skies at the best of times, and catching a night where there are no clouds and it is not windy or raining or really cold is pretty much remote. I have been lucky this past week that there have been a few clear nights to allow me to try out capturing the star trails. After some trial and error with setting and trying to reduce the amount of light getting in, and staying awake long enough for it to go dark is another big factor I forgot to mention, I did manage to capture a few decent shots.


I will need to work out a better power supply so I can have the camera running for longer to see if I can catch a whole rotation of the stars. We are off on holiday so I have packed up the camera and fingers crossed I will be able to get some excellent shots while away.

Final note.......AS Photography results are in and I got an A!

Wednesday, 29 July 2015

Pinhole Cameras - Experiment Two

After the success of the first camera I decided to take a trip up to the second pinhole camera I had set up and see if it had worked. The first image is the original scan from the photographic paper straight from the camera. I was really excited to see that the image contained the light trail in the sky, which was what I had been hoping for after seeing some examples on other websites.


This is the image after the invert had been applied to the original, and it shows the light trail in the sky even more, and it has highlighted some of the details of the road which was really pleasing.

The next idea I had was to play with the photo editing software to see if I could alter the colours further using the hue and saturation settings, I also played with the brightness and contrast to see what other results I could get out of the image. I am pretty happy with the result, I was surprised with the colours in the sky that appeared, however, I did have to be careful when adding the editing so not to remove the details of the original image.


I am really excited about the results that I have been getting from the pinhole cameras, and these are only after 2 months of being up at the locations. I will be leaving the others out for longer. Fingers crossed they will still be there when I go to collect them! 

The original cameras are now reloaded with new paper and ready to go, along with 3 more that my son and I made earlier today. Just got to find some interesting locations!

Sunday, 19 July 2015

Pinhole Cameras Experiment One.....

It has been approximately 8 weeks since I put the first Pinhole Camera up at home as a test run to see if I had got the design right and whether the paper would work with the truly awesome weather we have in the North-West.

After taking down the camera, I realised that I needed to move fairly quickly to ensure that the scan was done swiftly so not to expose the image to much light in the transfer from the camera to the scanner. However, I discovered that getting the paper out of the can in one quick movement was not as easy as I thought it was going to be, and after a few frantic seconds I managed to place it soon the scanner, fingers crossed that I had not damaged the image. Upon placing the paper onto the scanner we realised (husband roped in at this point) that it did not want to scan without a preview first, big no, no when doing this kind of scanning. 


A quick changing of settings into "Professional" mode and we were off, with the scan taking the best part of 5 minutes as we put it on the highest settings to capture a decent image, and yes - the image is massive, 25% and it fills more than the whole of my screen.


Here is the original scan:


We were both impressed with the detail that had been captured by the camera in the short space of time.


Here is the final image, it has been inverted so it gives the illusion that it has been processed, however, this is a much easier method than using all the chemical to actually develop the photograph paper. I am really looking forward to collecting the other cameras that we have put up, and I need to make some more. 

I am really happy with how this experiment has turned out, big smiley face, the adventure with Pinhole Cameras continues.......


Monday, 18 May 2015

Pinhole Cameras

A bit of a change from the usual Raspberry Pi related items, but something that I have become interested in over the last few months. At work the staff were given the opportunity to do the AS Photography course, as I keen photographer (pre-children) I decided it was a great opportunity to get my camera out again.

I have had lots of fun over the year collecting photos of different things and editing them to suit my needs for the AS course. My eldest son (who is 4) and I have had some lovely trips out to different places to take images to use, so much so, he has his own sketch book to keep his photos in.

I have now completed the assessments and work has been moderated so along with keeping my fingers crossed for my students, I am also hoping for a good grade myself. This has given me a bit of time to think about what I might like to do as the next unit to complete the A2 year of the course.

After much Internet searching and thinking about what I would like to try, I have decided to go back to basics and make my own cameras. In my search I cam across this website http://www.pinholephotography.org/

This has some really interesting stuff on it, and I had no idea how easy it would be to make a pinhole camera and set it up. After collecting the required items (the right photo paper being the most difficult to find) and asking my flyball team mates to keep hold of their empties for me to collect I was ready to make the cameras.


So with the video instructions written down and a good idea about how to create the basic camera I began.


Part way through and the lid is made, and all seems to be going well, I am winning the battle against the gaffa tape that wants to stick me to everything else in the house. And the battle with the children who keep running off with different items every time they visit the table to see what is going on. Loading the paper was interesting as I didn't want to expose it to much light, but as it is spending at least 6 month being exposed to the outside world a few seconds to get it in place in the can was not going to cause too much damage.


And here is the finished camera, all ready to roll. I am setting one up at home as my test one with others going up as I make them over the next few weeks. The idea is to catch a long exposure over 6 months with the paper recording the light movement to give some interesting results. It is a fantastic experiment as I have no idea what the images are going to turn out like as the camera is exposed 24/7 for 6 months tracking daylight and night time.

Here are the cameras set up in the test locations, fingers crossed that the one on the bridge does not get removed (I have put a note on it to explain what it is doing). The final challenge of setting up the cameras was to get them attached, I bought some super long cable ties, which were still not long enough unless I doubled them up and used a bit of string to keep it steady!


The idea for the project is to study long exposure photography using my own digital camera and comparing the results from the pinhole camera, using the same locations where possible. Fingers crossed....